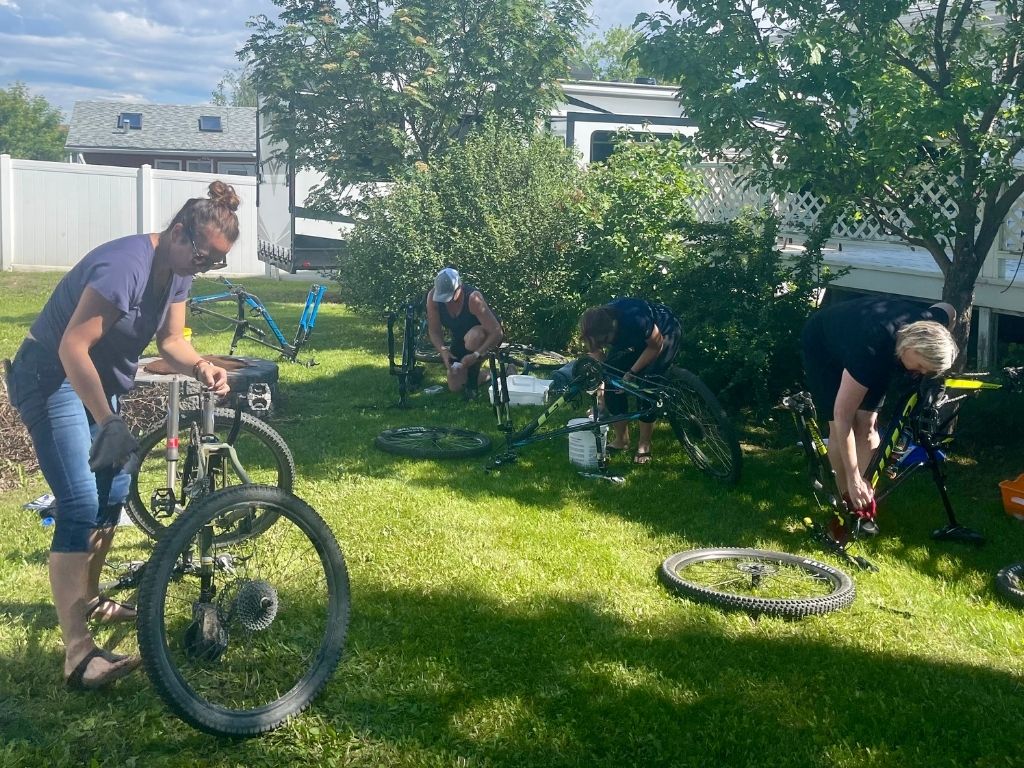
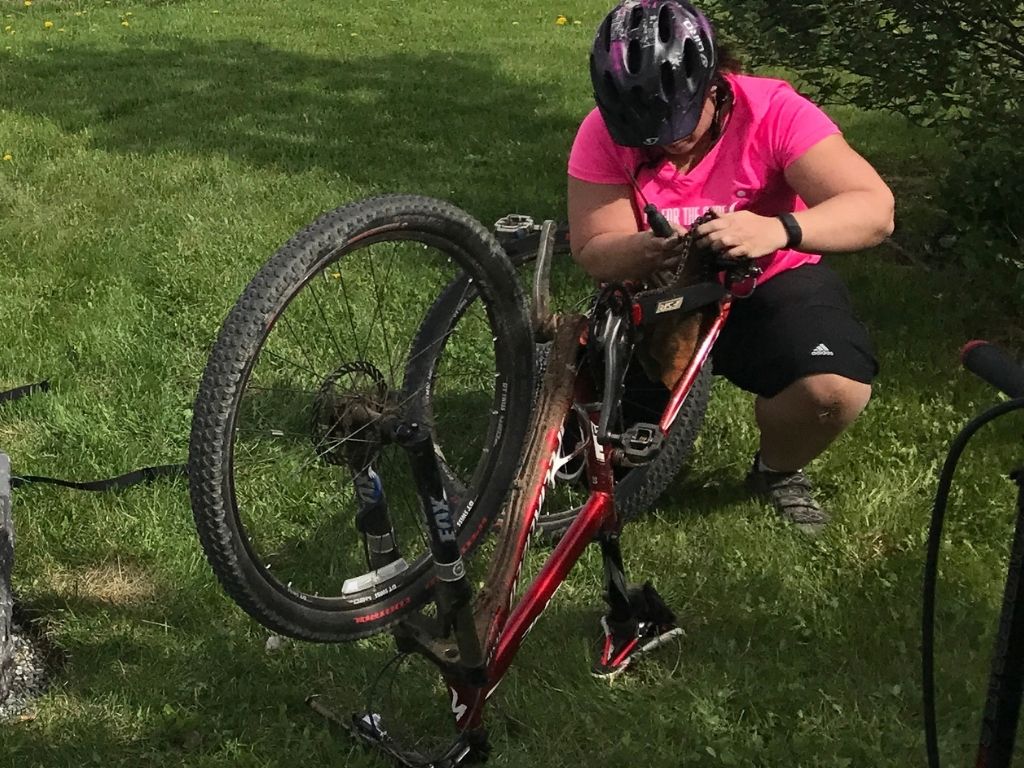
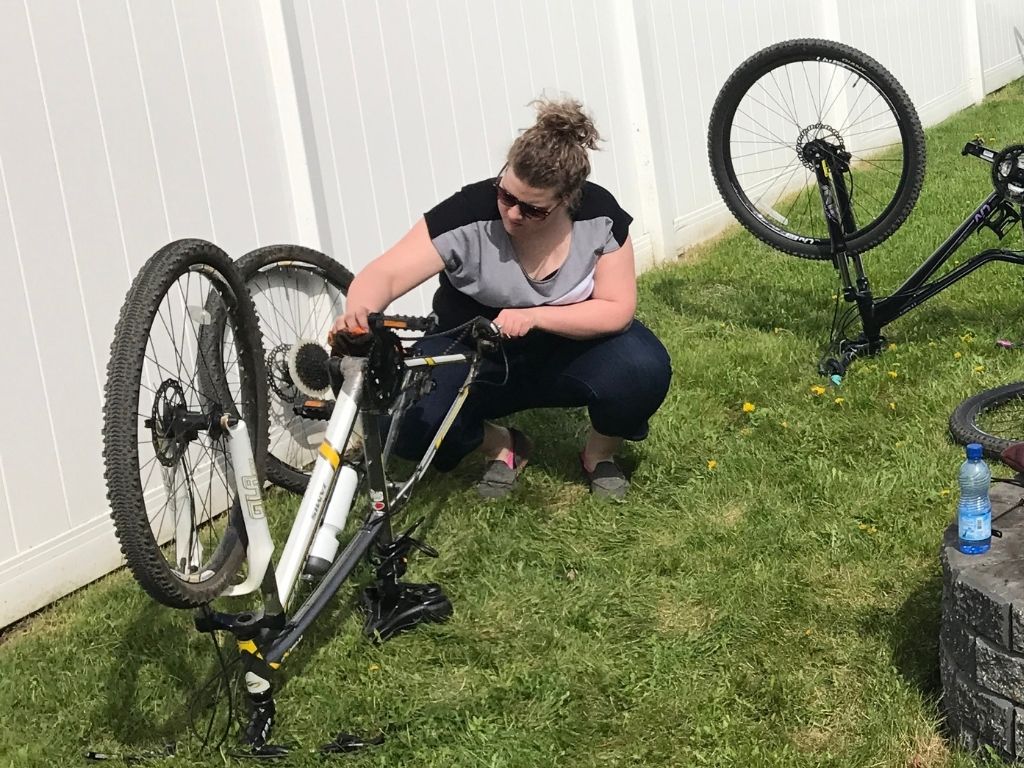
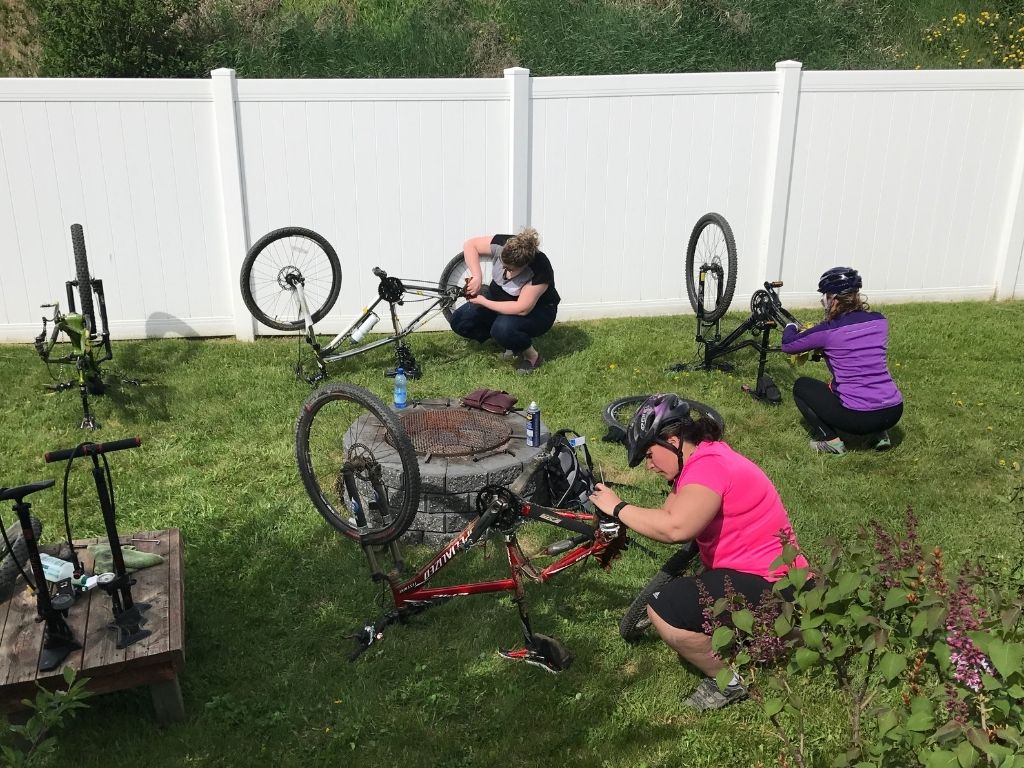
This basic mountain bike maintenance guide for women evolved out my MTB workshops I host for women. Women definitely want to learn how to maintain and repair their bicycles themselves but they often feel intimidated.
Realizing this, I started teaching these workshops in an environment where women do not have to feel nervous or silly about asking questions. We learn basic bike maintenance skills but also build confidence. It’s empowering!
This guide provides a simple but thorough checklist to help you look after your ride all season long. Below, you will find a description of each section that’s noted on the checklist for more explanation.
I suggest you do this complete check at the start of every riding season. If you ride in mud and wet areas often, then I also suggest using this on a regular basis. That way you can prevent future damage.
If you don’t ride a whole lot and generally ride in good weather where your bike doesn’t get that dirty, then I suggest a quick sweep before each ride by checking tire pressure and brakes.
However, no matter how often your ride, I strongly suggest after every ride to at least clean your drivetrain. Wipe down your chain, rings, cassette and jockey wheels and then lube your chain.
Also, if there is any mud or water on your stanchion tubes, you should wipe them down with a clean dry cloth.
Keeping your drivetrain and suspension system clean will not only help your ride last longer but also prevent damage to your bike = less money on repairs.
For a full overhaul, I suggest doing the checklist in order as it’s most efficient.
Watch the short video to learn basic bike anatomy and quickly learn how to identify the different components of your bike.
Frame
Remove your wheels and clean the entire frame of your bike.
To remove your wheels, make sure you are in the smallest cog in the back and the biggest ring in the front.
If you are running a 1x system, you will not have to worry about the front ring. This is to ensure that when you put your rear wheel back on, you can line up the chain on the cassette with greater ease.
Once your wheels are off, set them aside and give your frame a really good scrub. It is best to use bike-specific cleaners, such as Muck-Off.
Crank Arms
Same as the frame, give them a good wipe down. Also, check to see if your crankset has any play. If it does, you may need it serviced.
Pedals
Once or twice a year, I like to take my pedals off and regrease them. This helps to keep them from seizing up. Otherwise, just clean them with your solution.
Tires
It might seem like a waste of time to clean your tires but it is not.
In fact, this is a great time to check for damage such as wear on the tread, cracks, tears in the sidewalls and punctures. Obviously, if you find damage or a lot of wear the tire will need to be replaced.
After I clean my tires, I like to spray them with a sealant to help extend the life of the rubber compound.
Rims
Starting where the stem is, wipe down the whole rim on one side, then in between each spoke, and then flip the tire over and get the other side. Easy peasy.
Give the rim a good inspection for dents and cracks. Replace if necessary.
Spokes
A tedious task but an important one. Not only do you clean each spoke but this is a great time to check to see if any of them are broken or loose.
If this is the case, a repair is necessary as this will cause your wheel to be out of true and affect bike handling. It will feel “off.”
Hubs
While it’s in a hard-to-reach area, the middle of your wheel, it’s good to take the time to wipe them down. Good thing it doesn’t take that long.
Rotors
Use specific brake cleaner, not soup or any greasy type of product. Follow the directions on the bottle.
If you don’t have a brake cleaner, you can take rubbing alcohol and put it on a clean, lint-free cloth, and then wipe the rotor edges down. I do this until all the dirt is gone and no longer appears on my cloth.
Also, check to see if the rotors have any damage or are bent. Replace as needed.
Brake Pads
If your brakes are not working that well, feel “weak” when you use them while riding or doing a lot of squeaking, you might need to replace the brake pads.
It is actually easier than it sounds. CLICK HERE for a clip from the Global Mountain Biking Network on how to change your pads. They also have more “how-tos” on this topic.
Rear Cassette
I take my cassette off my wheel to clean it but that requires more tools. In my workshop, I showed the ladies a quick method.
You want to apply cleaner to the edge of a rag and then just floss it back and forth between each cog until the cogs come clean. It’s a bit time-consuming but your bike will love you for this.
A lot of dirt and mud gather up in between the cogs and so cleaning them will help preserve the life of your gears and drivetrain. Also, your bike will shift better when the gears are free of debris.
Front Ring(s)
Depending on whether you are running a 1x, 2x or 3x will depend on how many rings you have. Regardless, clean what you got. Wipe down the teeth, front and back.
Jockey Wheels
They may be little but they are mighty. Make sure you give these two little wheels some love.
Chain
To clean the chain, I suggest putting your clean wheels back onto your clean bike. It’s easier to clean your chain this way.
Spray a clean rag with some chain cleaner. Lightly grab the chain, very loose, and backpedal so the chain runs through your hand. You should see the cloth get very dirty.
Choose a new clean section on the cloth and repeat again. Keep doing this until the chain is clean. If this is your first time, it might take a while depending on how dirty your chain is.
Another option is to scrub the chain in different sections until it’s completely clean.
If you have a chain brush, by all means, use it. Just cover up your bike frame and any parts nearby so they do not get sprayed with grease and dirt coming from your brush.
Adjust Brakes
Once you put your wheels back on, lift up the front of the bike and give your front tire a spin. If it slows down quickly or seems like it is dragging or rubbing, you may need to adjust your brakes.
I teach this in my workshop but it’s tough to explain. CLICK HERE for another clip from the GMBN on how to get this task done.
Seat / Saddle
Clean your seat underneath and check for damage. Make sure it’s not loose either.
Handlebar
Of course, you can wipe down your handlebar and give it a good inspection. Check to see if the headset is loose, brake levers and gear shifters are evenly and comfortably places. All these things can be adjusted to fit you better.
Tire Pressure
Last but not least, tire pressure.
It’s not uncommon for a new mountain biker to show up to one of my rides with 60 PSI in their tires. That’s because it says “60 PSI” on the actual tire but this is not what you want to use.
Tire pressure is very dependent on the size of the tire, the terrain you will ride, trail conditions, temperature, rider weight, riding style, suspension, and so on.
One of my favourite guides on this topic for mountain bike tires is written by Tom Mavrin on BikeRadar.com – CLICK HERE.
I can’t stress how important it is to be riding with the right tire pressure on any type of bike. It will greatly impact your ride.
Every time you head out, always check your pressure. It’s a habit worth developing.
Test It Out
After you’re all done, and you ticked off all the boxes, you will want to finish up by running through the gears. I suggest hopping on your bike and giving it a little spin around your backyard.
Before you do that, check the wheels to make sure you put them back on tight. Then hop on, shift through the gears, use the brakes, bounce up and down, and see if it feels right.
At first, when you learn this basic bike maintenance routine, it may take a while. However, each time you do it you become more familiar with it and learn something new each time.
Eventually, you will be cleaning your bike like a mo-fo and maybe craving to learn more.
Taking care of your bike yourself is a life-learning process. It also helps you to understand how your bike works better which may even help you to become a better rider.
For me, learning about how things work mechanically helped me to understand what was happening on the trail. So it may sound silly, but for me, the knowledge did transfer over.
So there you have it – a basic mountain bike maintenance guide for women.
I would love to know what you think of this article and if you find the tips helpful.
Please post in the comments below. Hope to hear from you.
Happy shredding!